Medion Akoya E52004 (MD 34755) Manual
Medion
Skrivebord
Akoya E52004 (MD 34755)
Læs nedenfor 📖 manual på dansk for Medion Akoya E52004 (MD 34755) (52 sider) i kategorien Skrivebord. Denne guide var nyttig for 5 personer og blev bedømt med 4.5 stjerner i gennemsnit af 2 brugere
Side 1/52

MULTIMEDIA PC SYSTEM
MEDION® AKOYA® E52004
User Manual

21
6.5.1. Connecting the headphones
Plug the cable into the marked socket on the front of the PC using the 3.5 mm
stereo jack plug.
WARNING!
Damage to hearing!
Listening to a device at high volumes when using
headphones or earphones and changing the basic
settings of the equaliser, the driver, the software or the
operating system creates excessive sound pressure and
can result in damage to and/or loss of hearing.
Before pressing play, set the volume to the lowest
setting.
Start playback and increase the volume to a
comfortable level.
6.5.2. PCs with surround sound ( Surround)
Connect a surround sound system as follows:
Insert the cable for the front speaker into the green socket.
Connect the speakers for the rear sound to the .blue socket
Connect a central speaker or subwoofer to the pink socket.
Connect an additional speaker for the rear sound area to the black socket.
Various surround sound speakers can also be connected depending on the
connections available.
A digital audio output (SPDIF) may be connected using an optical or coaxial cable.
Plug an optical cable into the optical socket or a coaxial cable into the coaxial
socket.
Connect the other end of the cable to an audio device with a corresponding
digital input.
6.6. Connecting a microphone*
Connect a microphone with a 3.5 mm mono jack plug to the marked socket on
the front of your PC.
Position the microphone so that it does not point directly at the speakers. This
prevents acoustic feedback (perceptible by a loud whistling).
28
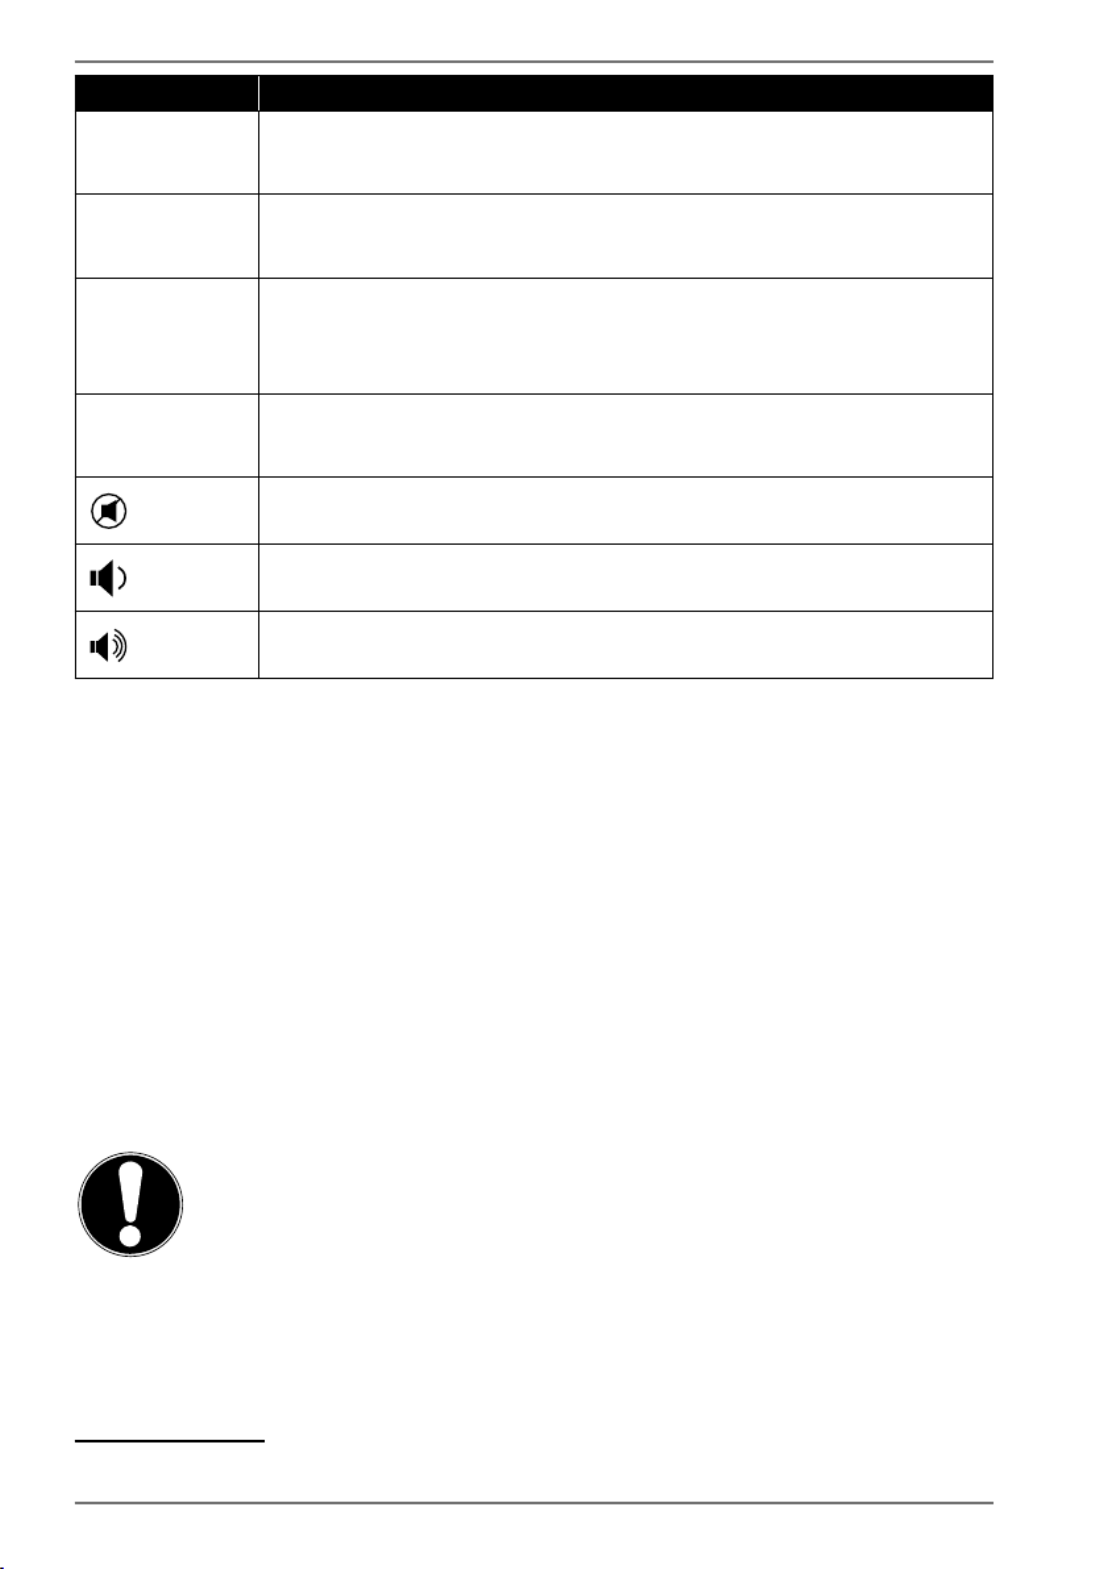
Description
Fn + F9 Previous track
Jumps to the previous track during media playback
Fn + F10 Next track
Jumps to the next track during media playback
Fn + F11 Play/Pause
Starts playback of a track, pauses playback and resumes
playback
Fn + F12 Stop
Stops playback of a track
Mute
Reduce volume
increase volume
10. Hard drives
The hard drives are your main storage medium that combines high storage capacity
with rapid data access.
Your PC is supplied with an OEM version* of the Microsoft Windows® operating
system which supports all of the PC’s features. We have configured your PC’s hard
drive so that you will be able to work with it optimally without having to install any
additional drivers yourself.
The Windows® operating system requires part of the capacity to manage the hard
drive therefore the hard drive’s full capacity is not available. This explains possible
differences between the BIOS display and operating system display. The PC’s
operating system, other applications and security data are located on the hard
drive, therefore the full capacity is already reduced.
NOTICE!
Loss of data!
Never try to switch off the PC while it is accessing the
hard drive as this can result in the loss of data.
Always switch of the PC using the shut down feature.
To do so, press the Windows button and then select
Power -> Shut down.
* Original equipment manufacturer/program versions purchased from the manufacturer which are
usually sold in conjunction with end devices
31
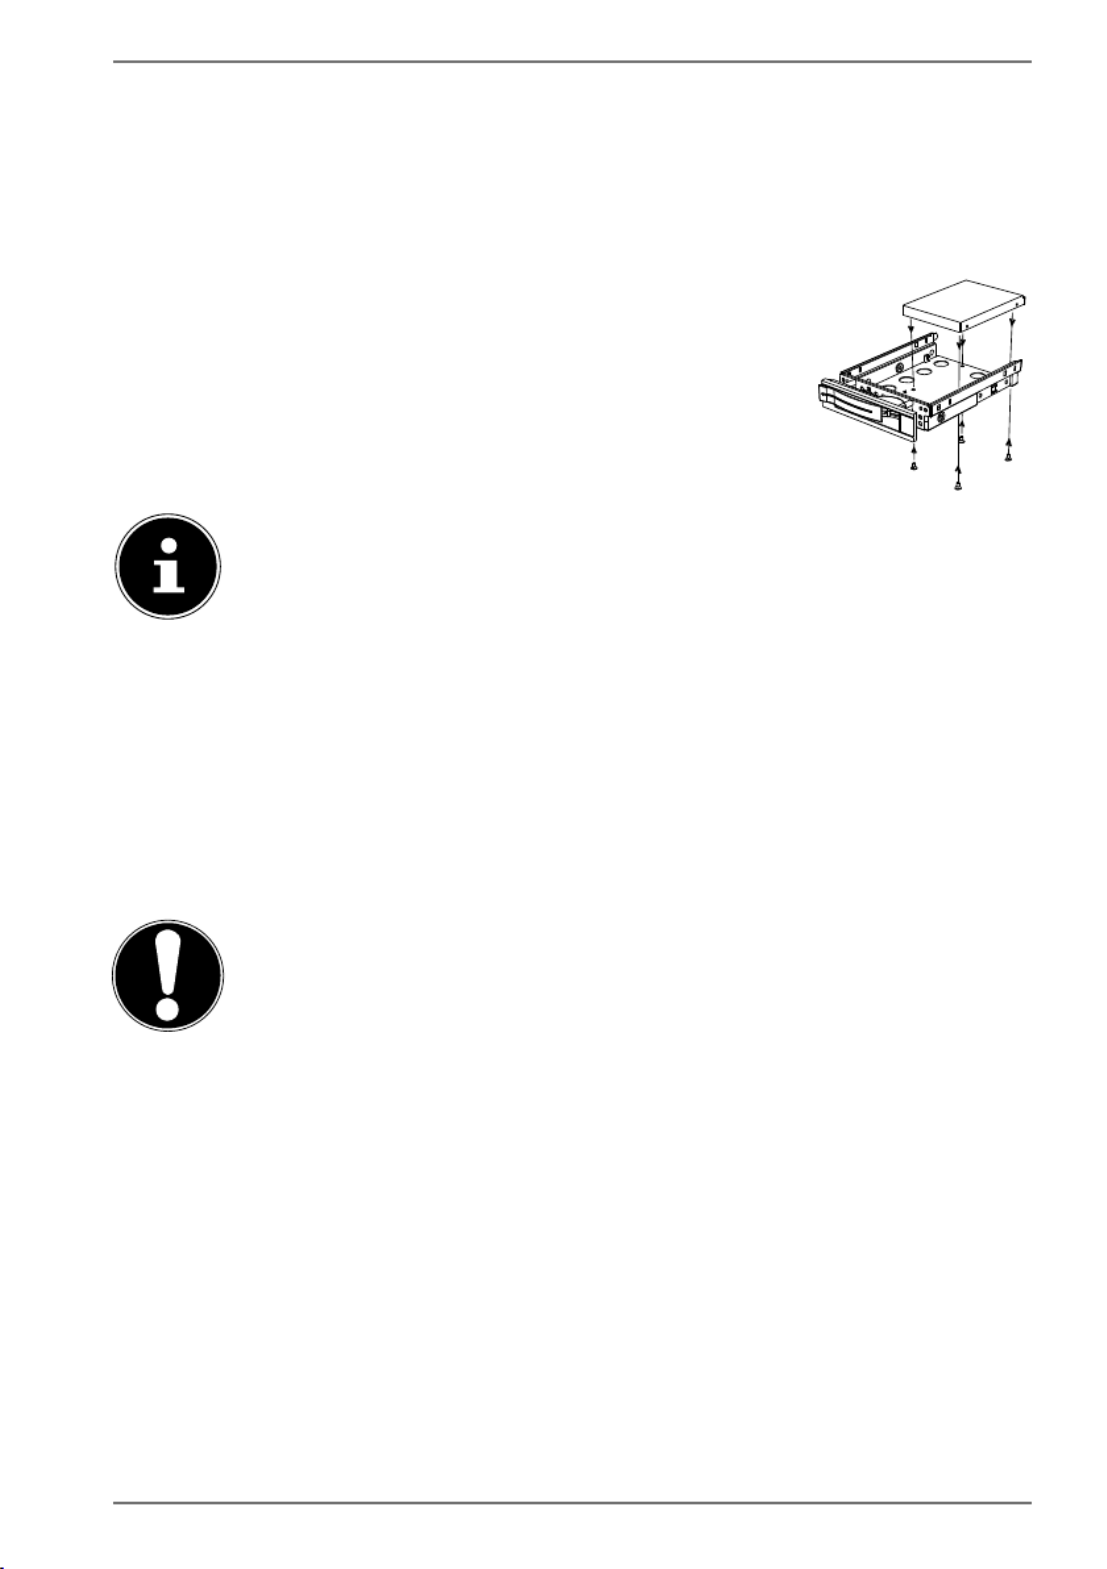
10.2.2. Installing a 2.5” SSD drive in a 2.5”/3.5” mobile rack
When installing an SSD drive, follow the first four steps in the previous instructions
and then proceed as follows:
The upper side of the hard drive is face up and the contacts are to the bottom
right.
Now insert the right side of the hard drive into the mobile rack.
Tightly hold the hard drive and the mobile rack, turn it over
and use four M3 x 4 mm countersunk screws (not supplied)
to screw the hard drive in place using the corresponding
screw holes.
The hard drive decoupler does not need to be replaced because the
hard drive has been sufficiently secured in place by the screws.
Carefully slide the mobile rack into the slot until it clicks into place.
Lock the mobile rack in place by pressing on the handle until it audibly clicks
into place. The hard drive will be recognised and can now be used.
11. Optical drive*
11.1. Load disc
NOTICE!
Risk of damage!
The high speeds in the drive may break defective
media and damage your device. Damage resulting from
defective media is not covered under the warranty and
fees will be charged for the repairs.
Do not use scratched, broken, dirty or poor quality
discs or special types of discs.
Do not stick a protective film or any other stickers
on the discs, because the adhesive can damage the
surface of the disc and corrupt data.
Inspect discs carefully before inserting them. If
damage or dirt is apparent, you may not use this
disc.
46
23. EU - Declaration of conformity
MEDION AG hereby declares that this product conforms with the
essential requirements and the remaining relevant regulations:
• RE Directive 2014/53/EU
• Ecodesign Directive 2009/125/EC
• RoHS Directive 2011/65/EU
You can download the complete EU Declaration of Conformity from
www.medion.com/conformity.
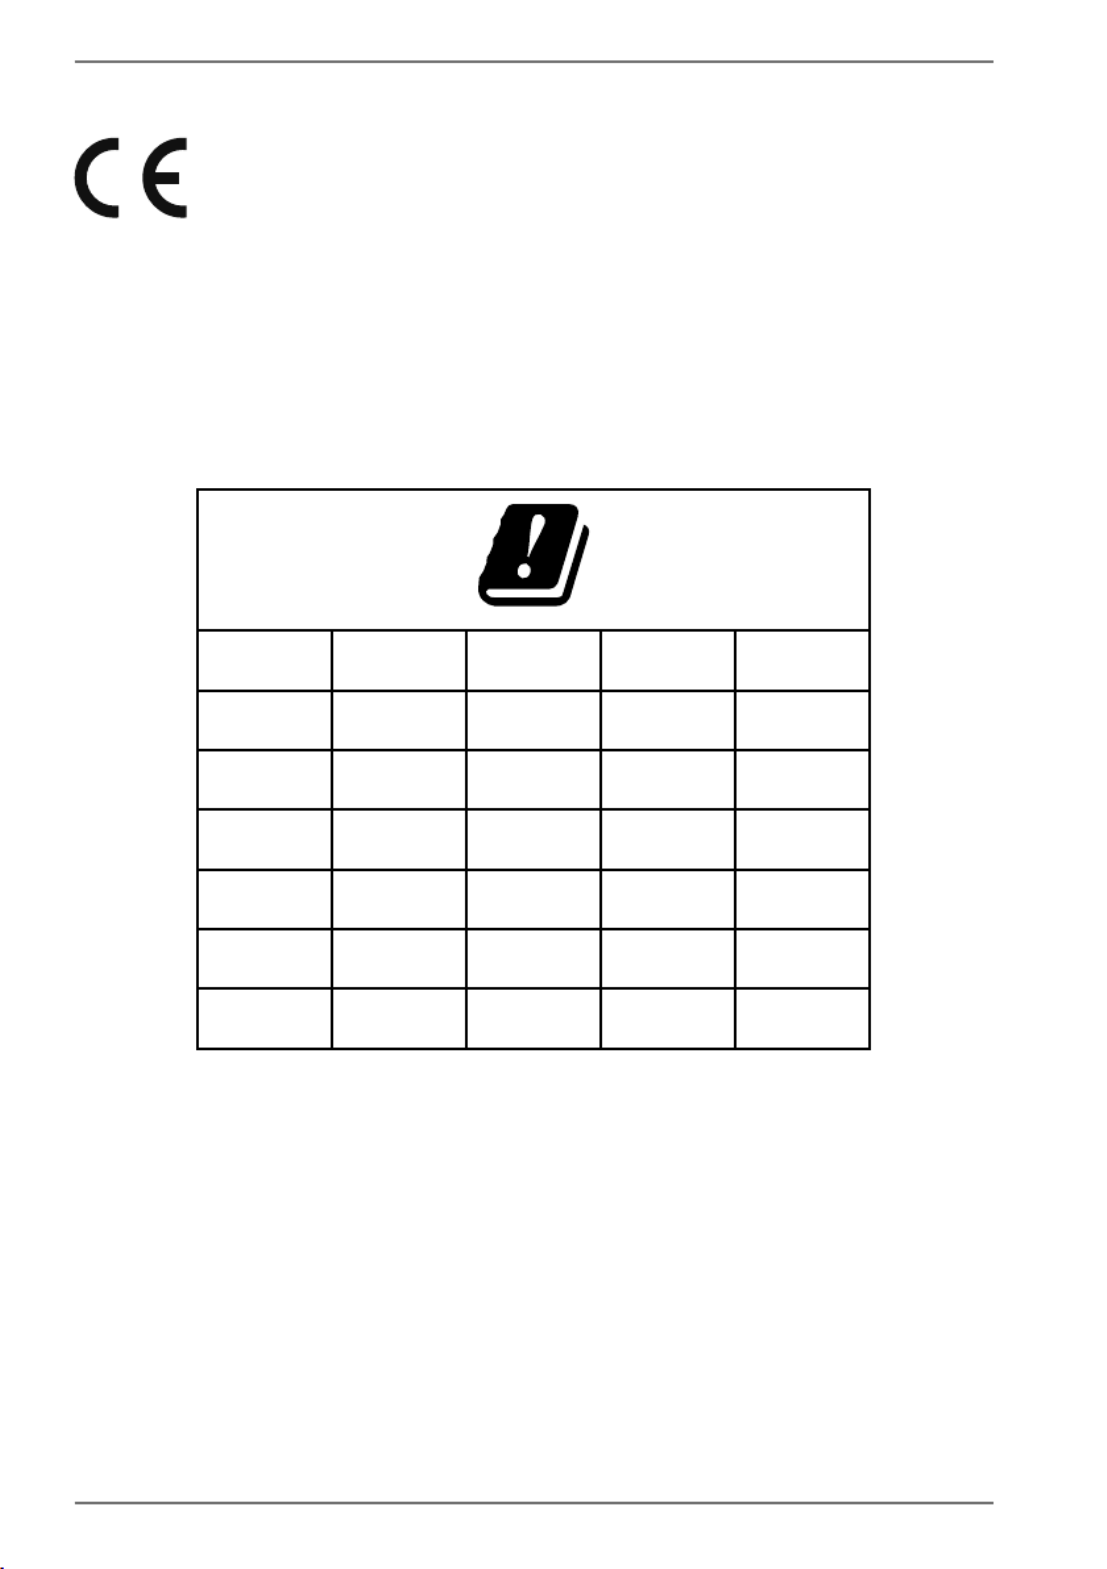
Use is only permitted inside buildings in all EU countries due to the 5 GHz frequency
band of the inbuilt Wireless LAN solution.
Always observe the respective legal situation in the country of use.
AT BE BG CZ DK
EE FR DE IS IE
IT EL ES CY LV
LI LT LU HU MT
NL NO PL PT RO
SI SK TR FI SE
CH UK(NI) HR
AT = Austria, BE = Belgium, BG = Bulgaria, CZ = Czech Republic, DK = Denmark,
EE = Estonia, FR = France, DE = Germany, IS = Iceland, IE = Ireland, IT = Italy,
EL = Greece, ES = Spain, CY = Cyprus, LV = Latvia, LI = Liechtenstein, LT = Lithuania,
LU = Luxembourg, HU = Hungary, MT = Malta, NL = Netherlands, NO = Norway,
PL = Poland, PT = Portugal, RO = Romania, SI = Slovenia, SK = Slovakia, TR = Turkey,
FI = Finland, SE = Sweden, CH = Switzerland, UK(NI) = Northern Ireland,
HR = Croatia
Produkt Specifikationer
| Mærke: | Medion |
| Kategori: | Skrivebord |
| Model: | Akoya E52004 (MD 34755) |
Har du brug for hjælp?
Hvis du har brug for hjælp til Medion Akoya E52004 (MD 34755) stil et spørgsmål nedenfor, og andre brugere vil svare dig
Skrivebord Medion Manualer

1 December 2024
12 Oktober 2024
3 Oktober 2024
3 September 2024
27 August 2024
25 August 2024
24 August 2024
21 August 2024
20 August 2024
17 August 2024
Skrivebord Manualer
- Skrivebord Ikea
- Skrivebord Acer
- Skrivebord Sony
- Skrivebord Samsung
- Skrivebord Panasonic
- Skrivebord Apple
- Skrivebord Sharp
- Skrivebord HP
- Skrivebord Asus
- Skrivebord Gigabyte
- Skrivebord Toshiba
- Skrivebord InFocus
- Skrivebord Lenovo
- Skrivebord Asrock
- Skrivebord Butler
- Skrivebord Optoma
- Skrivebord Zaor
- Skrivebord JYSK
- Skrivebord Parisot
- Skrivebord United Office
- Skrivebord Razer
- Skrivebord Haier
- Skrivebord Seagate
- Skrivebord Vtech
- Skrivebord Tripp Lite
- Skrivebord Packard Bell
- Skrivebord Microsoft
- Skrivebord Fellowes
- Skrivebord Digitus
- Skrivebord Genesis
- Skrivebord Techly
- Skrivebord Viewsonic
- Skrivebord Dell
- Skrivebord ELO
- Skrivebord Fujitsu
- Skrivebord Cooler Master
- Skrivebord MSI
- Skrivebord NEC
- Skrivebord Bush
- Skrivebord TrekStor
- Skrivebord ECS
- Skrivebord SPC
- Skrivebord ZTE
- Skrivebord Kobo
- Skrivebord Kramer
- Skrivebord Onyx
- Skrivebord Vorago
- Skrivebord EMachines
- Skrivebord Axis
- Skrivebord Faytech
- Skrivebord Intel
- Skrivebord Sharkoon
- Skrivebord Supermicro
- Skrivebord BDI
- Skrivebord Kogan
- Skrivebord LC-Power
- Skrivebord Planar
- Skrivebord Overdrive
- Skrivebord Zotac
- Skrivebord Moxa
- Skrivebord Alienware
- Skrivebord Aeris
- Skrivebord Maxdata
- Skrivebord Targa
- Skrivebord Peaq
- Skrivebord Shuttle
- Skrivebord Promethean
- Skrivebord Foxconn
- Skrivebord Ibm
- Skrivebord Advantech
- Skrivebord Pelco
- Skrivebord Xtech
- Skrivebord MP
- Skrivebord Elitegroup
- Skrivebord X Rocker
- Skrivebord Smart Things
- Skrivebord System76
- Skrivebord Zoostorm
- Skrivebord Bestar
- Skrivebord Cybernet
- Skrivebord Altra
- Skrivebord Dell Wyse
- Skrivebord AOpen
- Skrivebord ProDVX
- Skrivebord NComputing
- Skrivebord MvixUSA
- Skrivebord Seville Classics
- Skrivebord AIS
- Skrivebord Wyse
- Skrivebord Mount-It!
Nyeste Skrivebord Manualer
1 April 2025
4 Marts 2025

18 Februar 2025

15 Februar 2025
14 Februar 2025
14 Februar 2025
14 Februar 2025
14 Februar 2025

10 Januar 2025
6 Januar 2025