Samsung LA32D550K7R Manual
Samsung
televisión
LA32D550K7R
Læs nedenfor 📖 manual på dansk for Samsung LA32D550K7R (164 sider) i kategorien televisión. Denne guide var nyttig for 25 personer og blev bedømt med 4.5 stjerner i gennemsnit af 2 brugere
Side 1/164

E-MANUAL
imagine the possibilities
Thank you for purchasing this Samsung product.
To receive more complete service, please register
your product at
www.samsung.com/register
Model _____________ Serial No. _____________

Contents
Channel Menu
• Using Channel menu (Watch TV) 1
• Retuning Channels 11
Basic Features
• Picture Menu 15
• Sound Menu 32
Preference Features
• Network Menu for LCD 550 series and above 40
• System Menu 68
• Support Menu 84
Advanced Features
• My Downloads 90
• Anynet+ 117
• AllShare™ for LCD 550 series and above 131
Other Information
• Analogue Channel Teletext Feature 135
• Anti-theft Kensington Lock 139
• Troubleshooting 141
• Licence 160
▶
English
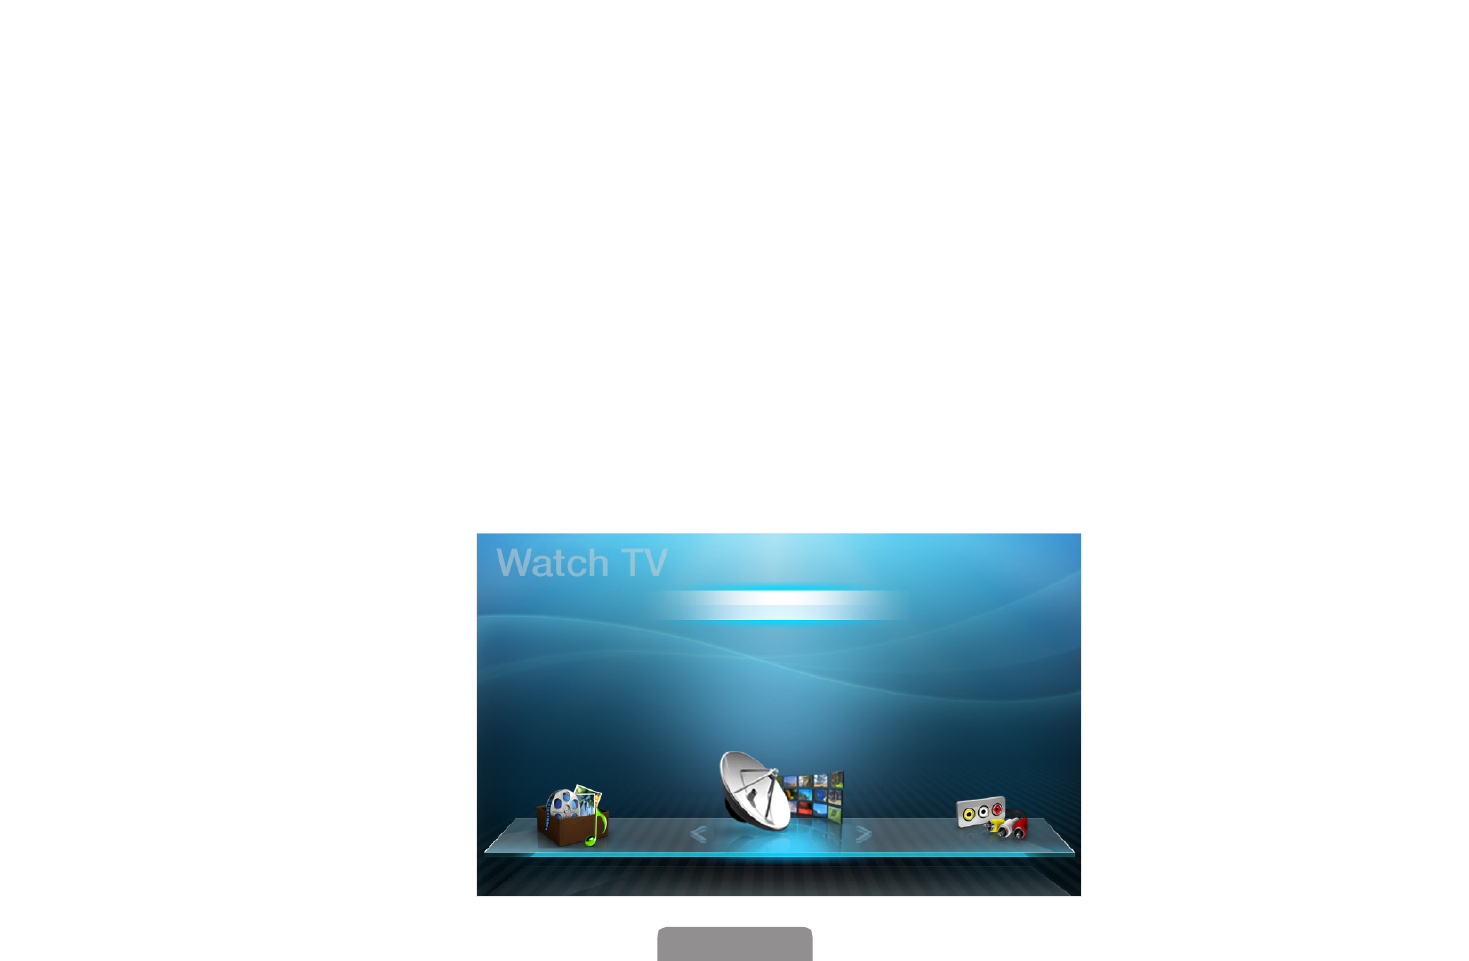
❑Using Channel menu (Watch TV)
O
MENU
m
→ Support → Contents Home → ENTER
E
Press the button to select CONTENT Watch TV, then select the desired menu.
Each screen will be displayed.
■Schedule Manager
OCONTENT → Schedule Manager → ENTERE
Cancel or set the to display the channel you want at the intended Timer Viewing
time.
Schedule Manager
Channel List
Channel Manager
My Downloads Source

◀ ▶
English
Using Timer Viewing
You can set a desired channel to be displayed automatically at the intended time.
Set the current time first to use this function.
1. Press the ENTERE button to add programme to schedule manually.
2. Press the ◄/►/▲/▼ button to set the , , , .Channel Repeat Date Start Time

◀ ▶
English
●Channel: Select the desired channel.
●
Repeat Once Manual Sat~Sun Mon~Fri Everyday: Select , , , or to set at
your convenience. If you select , you can set the day you want.Manual
NThe (c) mark indicates the day is selected.
●Date: You can set the desired date.
NIt is available when you select in .Once Repeat
●Start Time: You can set the start time you want.
NIf you want to edit or cancel the schedule, select the reserved schedule on
the Reserved programmes Edit Cancel Schedules, and select the or .

◀ ▶
English
■Channel List
O
CONTENT → Channel List → ENTERE
You can view channel information, or -All Favourites1 5.
NWhen you press the button on the remote control, CH LIST Channel List
screen will be displayed at once.
●All: Shows all currently available
channels.
●Favourites1-5: Shows all favourite
channels.
NFavourites1-5 will be
displayed when you set Add
to Favourites.
NIf you want to view favourite
channels you added, press the CH LIST button and use L (Ch.Mode) button
to move Favourites 1-5.
L Ch.Mode E Watch k Page
Channel List
All
a1C74
a2 C10
No Information
a3C5
a4C7
a5C27
a6C29
a7C31
a8C34
a9C38

◀ ▶
English
■Channel Manager
O
CONTENT → Channel Manager → ENTERE
Add or edit the favourite channel and
set the channels to , Lock Edit Channel
Name Delete Deselect All Select , , or
All.
●( ) : Shows all currently Channels
available channels.
●( ) -Favourites1 5: Shows
favourites channels.
E Select T Tools R Return
Channel Manager All
Selected item: 0 Channel number
* It may differ depending on the model.
a1C74
a3C7
a5C27
a7C31
a9 C38
a11 C41
a2C5
a4 C10
a6C29
a8C34
a10 C40
a12 C51

◀ ▶
English
Channel Status Display Icons
Icon Operations
aAn analogue channel.
cA channel selected.
FA channel set as a favourite.
\A locked channel.
TDisplays the option menu.Channel Manager

◀ ▶
English
Channel Manager Option Menu t
Set each channel using the menu options (Channel Manager Watch, Add to
Favourites/Edit Favourites, Lock/Unlock, Edit Channel Name, Edit Channel
Number, Delete, Select All/Deselect All). Option menu items may differ depending
on the channel status.
1. Select a channel and press the button.TOOLS
2. Select a function and change its settings.

◀ ▶
English
●Watch: Watch the selected channel.
●Add to Favourites/Edit Favourites: Set channels you watch frequently as
favourites. Add or Delete the selected channel in - .Favourites 1 5
1. Select the , then press the Add to Favourites/Edit Favourites ENTERE
button. Add or Delete the selected channel in - .Favourites 1 5
NIf the channel is already added to favourite channel, will Edit Favourites
be shown.
2. Press the ENTERE button to select -Favourites1 5 OK, then press the
button.
NOne favourite channel can be added in several of Favourites among
Favourites1-5.

◀ ▶
English
●Lock/Unlock: Lock a channel so that the channel cannot be selected and viewed.
NNOTE
●This function is available only when the is set to .Channel Lock On
●The PIN input screen appears. Enter your 4-digit PIN, the default of which
is “0-0-0-0”. Change the PIN using the option.Change PIN
●Edit Channel Name: Assign your own channel name.
●Edit Channel Number: Edit the number by pressing the number buttons desired.
●Deselect All: Deselect all the selected channels.
NYou can only select when one or more channels are selected.Deselect All
●Select All: Select all the channels in the channel list.

◀ ▶
English
❑Retuning Channels
O
MENUm → Channel → ENTERE
■Area
You can change the desired area.
■Auto Tuning
(depending on the country)
Scans for a channel automatically and stores in the TV.
NAutomatically allocated programme numbers may not correspond to actual
or desired programme numbers. If a channel is locked, the PIN input window
appears.

◀ ▶
English
❑Changing the Preset Picture Mode
O
MENU
m
→ Picture → Picture Mode → ENTER
E
■Picture Mode
Select your preferred picture type.
NWhen connecting a PC, you can only make changes to the and Entertain
Standard.
●Dynamic: Suitable for a bright room.
●Standard: Suitable for a normal environment.
●Natural for LCD 550 series and above : Suitable for reducing eye strain.
●Movie: Suitable for watching movies in a dark room.
●Entertain: Suitable for watching movies and games.
NIt is only available when connecting a PC.

◀ ▶
English
●Position: Adjust the picture position. It is only available in Screen Fit Wide or
Zoom.
●Zoom/Position : Adjust the picture position. It is only available in .Zoom
NNOTE
●After selecting Screen Fit in HDMI (1080i / 1080p) or Component (1080i
/ 1080p) mode, you may need to centre the picture:
1. Press the ▲ or ▼ button to select .Position
2. Press the ENTERE button.
3. Press the ▲, ▼, ◀ or ▶ button to move the picture.
●Depending on the input source, the picture size options may vary.
●If you want to reset the position you adjusted, select in the Reset
Position screen. The picture will be set to its default position.

◀ ▶
English
❑Changing the Picture Options
■Advanced Settings
OMENUm → Picture → Advanced Settings → ENTERE
(available in Standard / Movie mode)
You can adjust the detailed setting for the screen including colour and contrast.
NWhen connecting a PC, you can only make changes to andGamma White
Balance.
●Black Tone (Off / Dark / Darker /
Darkest): Select the black level to
adjust the screen depth.
U Move E Enter R Return
Advanced Settings
Black Tone : Off ►
Dynamic Contrast : Medium
Shadow Detail : 0
Gamma : 0
RGB Only Mode : Off
Colour Space : Native
White Balance
▼
Produkt Specifikationer
| Mærke: | Samsung |
| Kategori: | televisión |
| Model: | LA32D550K7R |
Har du brug for hjælp?
Hvis du har brug for hjælp til Samsung LA32D550K7R stil et spørgsmål nedenfor, og andre brugere vil svare dig
televisión Samsung Manualer

30 Januar 2025
14 Januar 2025
14 Januar 2025
14 Januar 2025
12 Januar 2025
12 Januar 2025
12 Januar 2025
10 Januar 2025
8 Januar 2025
2 Januar 2025
televisión Manualer
- televisión SilverCrest
- televisión Acer
- televisión Denver
- televisión Sencor
- televisión TCL
- televisión Sony
- televisión Siemens
- televisión Panasonic
- televisión VOX
- televisión Philips
- televisión Lenco
- televisión OK
- televisión LG
- televisión AEG
- televisión Pioneer
- televisión Mitsubishi
- televisión Sharp
- televisión Daewoo
- televisión Arçelik
- televisión AOC
- televisión Sanyo
- televisión Grundig
- televisión Nikkei
- televisión Toshiba
- televisión Pyle
- televisión Furrion
- televisión Lenovo
- televisión Infiniton
- televisión Nedis
- televisión Logik
- televisión Abus
- televisión Optoma
- televisión Westinghouse
- televisión Element
- televisión Thomson
- televisión Hyundai
- televisión Aiwa
- televisión Nokia
- televisión Casio
- televisión AKAI
- televisión Hisense
- televisión Strong
- televisión Brandt
- televisión Hannspree
- televisión Trevi
- televisión Blaupunkt
- televisión JVC
- televisión BEKO
- televisión Uniden
- televisión Clatronic
- televisión Hitachi
- televisión Medion
- televisión Sweex
- televisión Citizen
- televisión Megasat
- televisión Haier
- televisión TechniSat
- televisión Innoliving
- televisión NewStar
- televisión Bang And Olufsen
- televisión Luxor
- televisión Vivax
- televisión Loewe
- televisión Walker
- televisión Sunny
- televisión Finlux
- televisión Telefunken
- televisión Kernau
- televisión BenQ
- televisión Packard Bell
- televisión Xiaomi
- televisión Peerless-AV
- televisión Krüger&Matz
- televisión Viewsonic
- televisión Schneider
- televisión Fujitsu
- televisión Oppo
- televisión Zalman
- televisión Tesla
- televisión Polaroid
- televisión NEC
- televisión TERRIS
- televisión OKI
- televisión MT Logic
- televisión Yasin
- televisión Bush
- televisión Dual
- televisión Aspes
- televisión Salora
- televisión Sagem
- televisión Nevir
- televisión Teac
- televisión Nextbase
- televisión Techwood
- televisión Vivo
- televisión Albrecht
- televisión SVAN
- televisión Sogo
- televisión Alba
- televisión RCA
- televisión ECG
- televisión AudioSonic
- televisión Manhattan
- televisión Proline
- televisión JGC
- televisión Orion
- televisión ITT
- televisión ILive
- televisión Intenso
- televisión Fantec
- televisión Cecotec
- televisión Roadstar
- televisión VIZIO
- televisión XD Enjoy
- televisión Wharfedale
- televisión Technika
- televisión Seiki
- televisión TechLine
- televisión Monster
- televisión Bauhn
- televisión V7
- televisión Airis
- televisión Majestic
- televisión Star-Light
- televisión Vestel
- televisión Continental Edison
- televisión Iiyama
- televisión RevolutionHD
- televisión GPX
- televisión CHiQ
- televisión MBM
- televisión Orima
- televisión SereneLife
- televisión Lexibook
- televisión AG Neovo
- televisión Philco
- televisión Kunft
- televisión GoGen
- televisión Kogan
- televisión Graetz
- televisión Emerson
- televisión Kemo
- televisión Insignia
- televisión Xoro
- televisión Manta
- televisión SunBriteTV
- televisión JTC
- televisión Reflexion
- televisión Planar
- televisión QBell Technology
- televisión SYLVOX
- televisión Dyon
- televisión Schaub Lorenz
- televisión Daitsu
- televisión Xiron
- televisión Alden
- televisión Alphatronics
- televisión Aldi
- televisión Allview
- televisión AYA
- televisión Aristona
- televisión Apex
- televisión Ziggo
- televisión Icy Box
- televisión Palsonic
- televisión Funai
- televisión Saba
- televisión Antarion
- televisión Tevion
- televisión Proscan
- televisión Tucson
- televisión Sunstech
- televisión Nabo
- televisión Sylvania
- televisión Marquant
- televisión Nordmende
- televisión AudioAffairs
- televisión Magnum
- televisión Kubo
- televisión Coby
- televisión Seg
- televisión Metz
- televisión Qilive
- televisión Changhong
- televisión Naxa
- televisión Mpman
- televisión Cello
- televisión Mx Onda
- televisión Peaq
- televisión Humax
- televisión Superior
- televisión Difrnce
- televisión Grunkel
- televisión Avtex
- televisión Odys
- televisión NPG
- televisión Bluesky
- televisión Videocon
- televisión Durabase
- televisión HKC
- televisión Edenwood
- televisión Woxter
- televisión Premier
- televisión Teleco
- televisión Opera
- televisión LTC
- televisión Horizon
- televisión Elements
- televisión Viewpia
- televisión CGV
- televisión Online
- televisión Doffler
- televisión DirecTV
- televisión Tele 2
- televisión Mystery
- televisión Telesystem
- televisión Jay-tech
- televisión EKO
- televisión E-motion
- televisión Mitsai
- televisión Selfsat
- televisión High One
- televisión Tve
- televisión ISymphony
- televisión Pantel
- televisión Magnavox
- televisión ATYME
- televisión HCI
- televisión Inno-Hit
- televisión Lin
- televisión Engel
- televisión Digihome
- televisión Englaon
- televisión Reflex
- televisión Astar
- televisión Visco
- televisión Tivax
- televisión H&B
- televisión Norcent
- televisión TELE System
- televisión TIM
- televisión Oyster
- televisión Belson
- televisión Vision Plus
- televisión Sbr
- televisión Voxx
- televisión Rm 2000
- televisión Hoher
- televisión Felson
- televisión Elbe
- televisión Axing
- televisión FFalcon
- televisión Smart Tech
- televisión Séura
- televisión Mitzu
- televisión Caratec
- televisión JTC24
- televisión Kivi
- televisión Smart Brand
- televisión FOX Electronics
Nyeste televisión Manualer

20 Februar 2025

19 Februar 2025
19 Februar 2025

10 Februar 2025
5 Februar 2025
30 Januar 2025

15 Januar 2025
15 Januar 2025

15 Januar 2025
15 Januar 2025