Qnect QN-WP06 Manual
Qnect
Smart hjem
QN-WP06
Læs nedenfor 📖 manual på dansk for Qnect QN-WP06 (3 sider) i kategorien Smart hjem. Denne guide var nyttig for 13 personer og blev bedømt med 4.5 stjerner i gennemsnit af 2 brugere
Side 1/3
Wi-Fi Smart Plug
Quick setup manual
Wi-Fi Prise intelligente
Guide de démarrage rapide
Wi-Fi Intelligenter Netzstecker
Kurzanleitung
Wi-Fi Slimme stekker
Verkorte handleiding
EN FR DE NL
Description
1. - 4 : On/off button / Reset button / On off indicator Connection
status indicator
Use
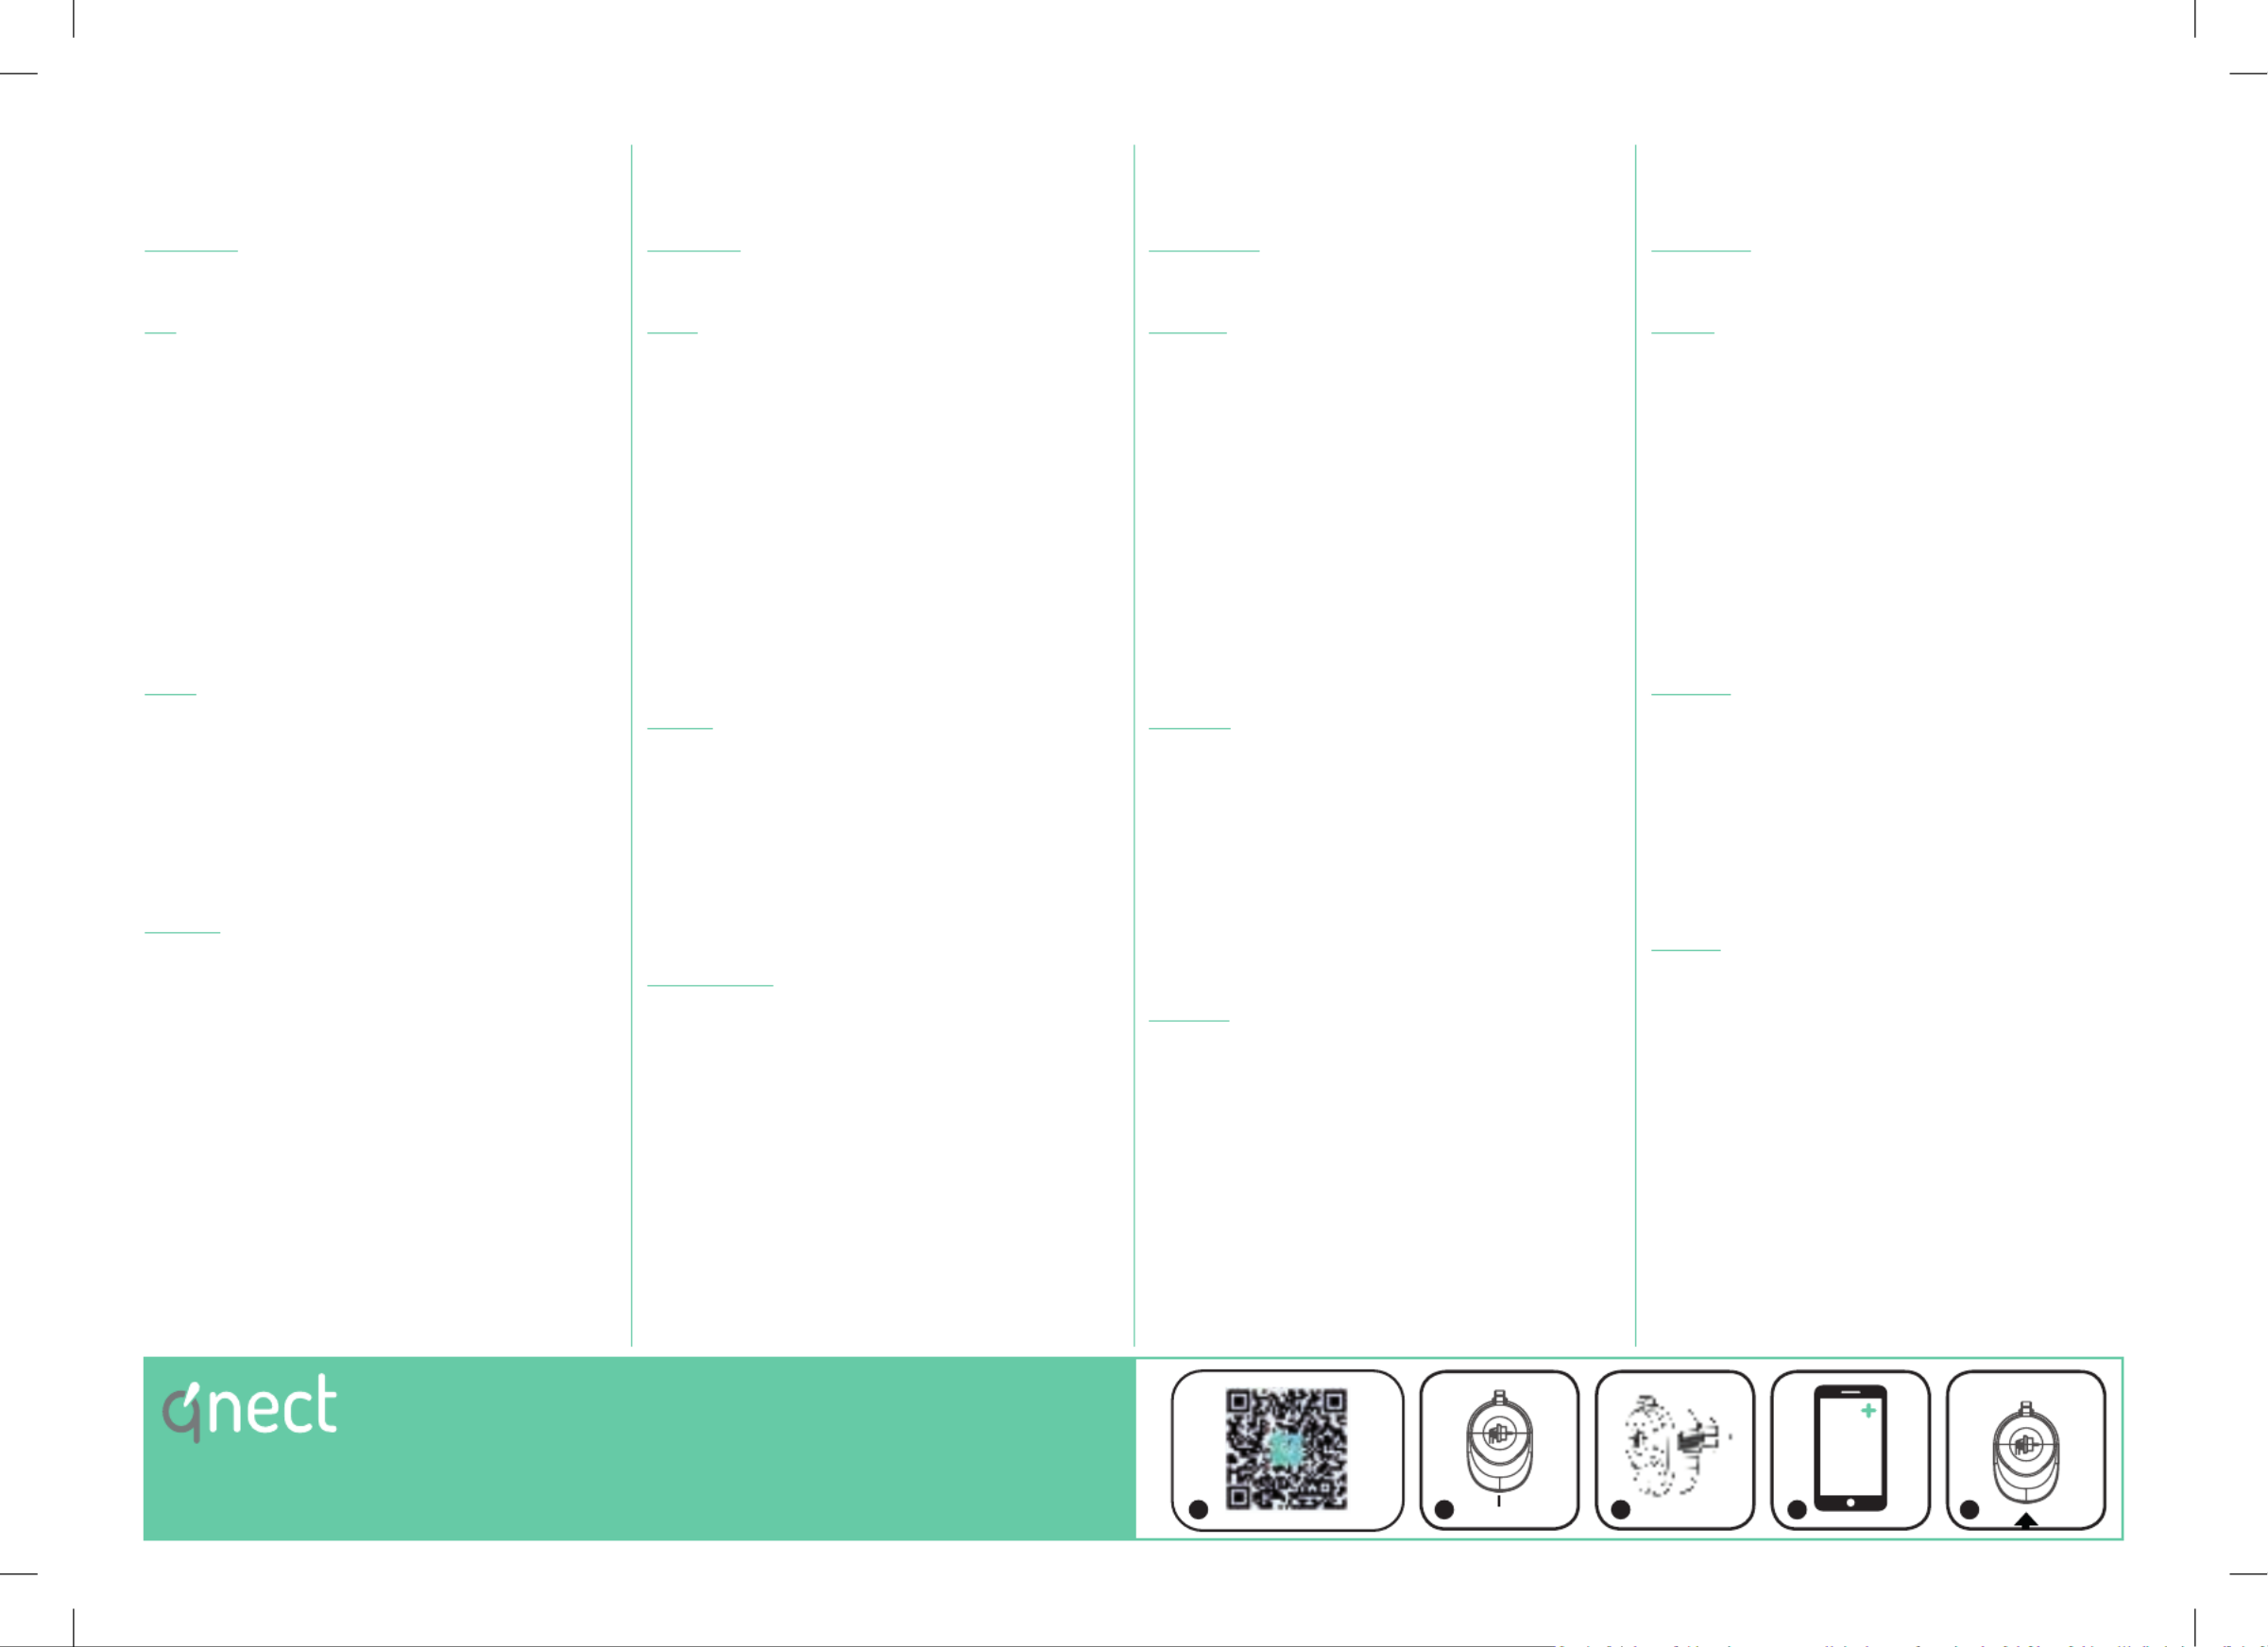
1. Download and install the app “qnect home“ from Apple App Store or
Google Play Store on your mobile device.
2. Launch the app “qnect home”.
3. Create a new account or log in to your existing account.
4. Plug in the smart power plug.
5. Tap to add the device.“+”
‐When bluetooth is enabled on your smartphone the app will nd
the device itself. Follow the installation steps within the app.
‐When bluetooth is not enabled, follow below steps.
6. Select from the list of products.Comfort > QN-WP06
‐ If the status indicator does not ash: Press and hold the reset
button for 5-10 seconds.
‐If the light ashes: Conrm in the app.
7. Confrm the Wi-Fi network and password.
8. Enter the device name.
Note: The device name will also be used by Amazon Alexa and Google
Home.
Safety
‐To reduce risk of electric shock, this product should only be opened
by an authorized technician when service is required.
‐Disconnect the product from the mains and other equipment if a
problem should occur.
‐Read the manual carefully before use. Keep the manual for future
reference.
‐Only use the device for its intended purposes.
‐Do not use the device if any part is damaged or defective. If the
device is damaged or defective, replace the device immediately.
‐The device is suitable for outdoor use, but do not expose the device
to constant running water
Warning!
‐We are continuously improving and updating our products and
product information. It’s therefore possible that there is a slight
difference between the description in this manual to the operation of
the product. If something is different or not clear, always check our
website for the most current manual version.
‐The functionality of WiFi connected product depends on the stability
of your home network. We are not responsible for the stability
and capability of your private network, and therefore the optimal
functionality of our products. If any questions about your private WiFi
network, contact your WiFi providor.
‐Do not exceed the maximum load of 16A or 3600W.
‐Do not use cleaning solvents or abrasives. Do not clean the inside of
the device.
‐Do not attempt to repair the device. If the device does not operate
correctly, replace it with a new device.
‐Clean the outside of the device using a soft, damp cloth.
Description
1. - 4 : Bouton marche & arrêt / Bouton de réinitialisation / Indicateur
marche & arrêt / Indicateur de statut de connexion
Usage
1. Téléchargez et installez l’appli “qnect home” sur Apple App Store ou
Google Play Store dans votre mobile.
2. Lancez l’appli “qnect home”.
3. Créez un nouveau compte ou connectez-vous à votre compte
existant.
4. Enchezlapriseélectriqueintelligente.
5. Touchez pour ajouter l’appareil“+”
‐Lorsque le Bluetooth est activé sur votre smartphone, l’application
trouvera l’appareil lui-même. Suivez les étapes d’installation dans
l’application.
‐Lorsque le Bluetooth n’est pas activé, suivez les étapes ci-dessous.
6. Sélectionnez dans la liste des produits.Confort > QN-WP06
‐ Si l’indicateur de statut ne clignote pas : Appuyez sur le bouton de
réinitialisation sans le relâcher pendant 5-10 secondes.
‐Si la lampe clignote : Conrmez l’app.
7. ConrmezleréseauWi-Fietlemotdepasse.
8. Saisissez le nom d’appareil.
Remarque : Le nom de l’appareil est aussi utilisé par Amazon Alexa et
Google Home.
Sécurité
‐Pour réduire le risque de choc électrique, ce produit doit être ouvert
uniquement par un technicien qualié si une réparation s’impose.
‐Débranchez l’appareil et les autres équipements du secteur s’il y a
un problème.
‐Lisez attentivement le manuel avant usage. Conservez le manuel
pour toute référence ultérieure.
‐Utilisez l’appareil uniquement pour son usage prévu.
‐N’utilisez pas l’appareil si une pièce quelconque est endommagée ou
défectueuse. Si l’appareil est endommagé ou défectueux, remplacez-
le immédiatement.
‐L’appareil est adapté à une utilisation en extérieur, mais ne l’exposez
pas à de l’eau courante constante.
Avertissement !
‐Nous améliorons et mettons à jour continuellement nos produits
et nos informations sur les produits. Il est donc possible qu’il y
ait une légère différence entre la description de ce manuel et le
fonctionnement du produit. Si quelque chose est différent ou pas
clair, consultez toujours notre site Web pour la version manuelle la
plus récente.
‐La fonctionnalité du produit connecté WiFi dépend de la stabilité
de votre réseau domestique. Nous ne sommes pas responsables
de la stabilité et des capacités de votre réseau privé, et donc de la
fonctionnalité optimale de nos produits. Si vous avez des questions
sur votre réseau WiFi privé, contactez votre fournisseur WiFi.
‐Ne dépassez pas la charge maximale de 16A ou 3600W.
‐N’utilisez pas de solvants ni de produits abrasifs.
‐Ne nettoyez pas l’intérieur de l’appareil.
‐Ne tentez pas de réparer l’appareil. Si l’appareil fonctionne mal,
remplacez-le par un neuf.
‐Nettoyez l’extérieur de l’appareil avec un chiffon doux et humide.
Beschreibung
1. - 4 : Ein- & Aus-Taste / Reset-Taste / Ein-/Aus-Anzeige /
Verbindungsstatusanzeige
Gebrauch
1. Laden Sie die App “qnect home” vom Apple App Store oder Google
Play Store auf Ihr Mobilgerät herunter und installieren Sie sie.
2. Starten Sie die App .“qnect home”
3. Erstellen Sie ein neues Konto oder melden Sie sich bei Ihrem
bestehenden Konto an.
4. Stecken Sie den intelligenten Netzstecker ein.
5. Tippen Sie auf , um das Gerät hinzuzufügen.“+”
‐Wenn Bluetooth auf Ihrem Smartphone aktiviert ist, ndet die App
das Gerät selbst. Befolgen Sie die Installationsschritte in der App.
‐Wenn Bluetooth nicht aktiviert ist, führen Sie die folgenden
Schritte aus.
6. Wählen Sie aus der Produktliste.Komfort > QN-WP06
‐ Wenn die Statusanzeige nicht blinkt : Drücken und halten Sie die
Reset-Taste 5-10 Sekunden lang.
‐Wenn das Licht blinkt : Bestätigen Sie in der App.
7. Bestätigen Sie das Wi-Fi-Netzwerk und das Passwort.
8. Geben Sie den Gerätenamen ein.
Hinweis: Der Gerätename wird auch von Amazon Alexa und Google
Home verwendet.
Sicherheit
‐Um die Gefahr eines elektrischen Schlags zu verringern, sollte dieses
Produkt bei erforderlichen Servicearbeiten ausschließlich von einem
autorisierten Techniker geöffnet werden.
‐Bei Problemen trennen Sie das Gerät bitte von der
Spannungsversorgung und von anderen Geräten.
‐Lesen Sie die Bedienungsanleitung vor dem Gebrauch genau
durch. Bitte bewahren Sie die Bedienungsanleitung zur späteren
Bezugnahme auf.
‐Verwenden Sie das Gerät nur bestimmungsgemäß.
‐Verwenden Sie das Gerät nicht, falls ein Teil beschädigt oder
defekt ist. Ist das Gerät beschädigt oder defekt, erneuern Sie es
unverzüglich.
‐Das Gerät ist für den Außenbereich geeignet, setzt es jedoch keinem
konstant ießenden Wasser aus.
Warnung!
‐Wir verbessern und aktualisieren kontinuierlich unsere Produkte
und Produktinformationen. Es ist daher möglich, dass zwischen der
Beschreibung in diesem Handbuch und dem Betrieb des Produkts
ein geringfügiger Unterschied besteht. Wenn etwas anders oder
nicht klar ist, nden Sie auf unserer Website immer die aktuellste
manuelle Version.
‐Die Funktionalität eines Produkts mit WiFi-Verbindung hängt von der
Stabilität Ihres Heimnetzwerks ab. Wir sind nicht verantwortlich für
die Stabilität und Leistungsfähigkeit Ihres privaten Netzwerks und
damit für die optimale Funktionalität unserer Produkte. Wenn Sie
Fragen zu Ihrem privaten WLAN-Netzwerk haben, wenden Sie sich
an Ihren WLAN-Anbieter.
‐Überschreiten Sie nicht die maximale Last von 16A oder 3600W.
‐Verwenden Sie keine Lösungs- oder Scheuermittel. Reinigen Sie das
Gerät nicht von innen.
‐Versuchen Sie nicht, das Gerät zu reparieren. Falls das Gerät nicht
einwandfrei arbeitet, tauschen Sie es gegen ein neues aus.
‐Reinigen Sie das Äußere des Geräts mit einem weichen feuchten
Tuch.
Beschrijving
1. - 4 : Aan- & uit-knop / Resetknop / Aan- & uit-indicator /
Verbindingsstatusindicator
Gebruik
1. Download en installeer de “qnect home” app uit de Apple App Store
of Google Play Store op uw mobiele apparaat.
2. Activeer de “qnect home” app.
3. Maak een nieuw account aan of log in op uw bestaande account.
4. Stop de slimme stekker in een stopcontact.
‐Wanneer bluetooth is ingeschakeld op je smartphone, zal de app
het apparaat zelf vinden. Volg de installatiestappen in de app.
‐Volg onderstaande stappen als Bluetooth niet is ingeschakeld.
5. Druk op om het apparaat toe te voegen.“+”
6. Selecteer uit de productenlijstComfort > QN-WP06
‐Als de statusindicator niet knippert: Houd de resetknop 5-10
seconden ingedrukt.
‐Als de lamp knippert: Bevestig in de app.
7. Bevestighetwi-netwerkenhetwachtwoord.
8. Voer de naam van het apparaat in.
Opmerking: De naam van het apparaat zal ook door Amazon Alexa en
Google Home worden gebruikt.
Veiligheid
‐Dit product mag voor onderhoud uitsluitend door een erkende
technicus worden geopend om het risico op elektrische schokken te
verkleinen.
‐Koppel het product los van het stopcontact en van andere apparatuur
als zich problemen voordoen.
‐Lees voor gebruik de handleiding zorgvuldig door. Bewaar de
handleiding voor latere raadpleging.
‐Gebruik het apparaat uitsluitend voor de beoogde doeleinden.
‐Gebruik het apparaat niet als een onderdeel beschadigd of defect is.
Vervang een beschadigd of defect apparaat onmiddellijk.
‐Het apparaat is geschikt voor gebruik buitenshuis, maar stel het
apparaat niet bloot aan constant stromend water.
Opgelet!
‐We verbeteren en updaten voortdurend onze producten en
productinformatie. Het is daarom mogelijk dat er een klein verschil is
tussen de beschrijving in deze handleiding en de bediening van het
product. Als er iets anders is of niet duidelijk is, kijk dan altijd op onze
website voor de meest actuele handmatige versie.
‐De functionaliteit van een met wi verbonden product hangt af van
de stabiliteit van uw thuisnetwerk. Wij zijn niet verantwoordelijk voor
de stabiliteit en mogelijkheden van uw privé-netwerk, en dus voor
de optimale functionaliteit van onze producten. Neem bij vragen over
uw eigen wi-netwerk contact op met uw wi-provider.
‐Overschrijd de maximale belasting van 16A of 3600W niet.
‐Gebruik geen reinigingsmiddelen of schuurmiddelen.
‐Reinig niet de binnenzijde van het apparaat.
‐Probeer het apparaat niet te repareren. Indien het apparaat niet juist
werkt, vervang het dan door een nieuw apparaat.
‐Reinig de buitenzijde van het apparaat met een zachte, vochtige
doek.
Art. 447001116
QN-WP06
RESET
5-10s
1-4
‐Input voltage 230V~ 50Hz Max.
‐Power plug Schuko Type F (CEE)
‐Max. power output 3680W - 16A
‐Frequency range 2400 - 2482.5 MHz
‐Antenna gain : 1dBi
‐Max. radio transmit power 20 dBm
Support ? > www.qnecthome.com <
Produkt Specifikationer
| Mærke: | Qnect |
| Kategori: | Smart hjem |
| Model: | QN-WP06 |
Har du brug for hjælp?
Hvis du har brug for hjælp til Qnect QN-WP06 stil et spørgsmål nedenfor, og andre brugere vil svare dig
Smart hjem Qnect Manualer

15 Oktober 2024
15 Oktober 2024
15 August 2024
9 Juli 2024
9 Juli 2024
Smart hjem Manualer
- Smart hjem Ikea
- Smart hjem Bosch
- Smart hjem Acer
- Smart hjem Denver
- Smart hjem Siemens
- Smart hjem CyberPower
- Smart hjem Panasonic
- Smart hjem Hager
- Smart hjem TP-Link
- Smart hjem Philips
- Smart hjem Gigaset
- Smart hjem Logitech
- Smart hjem Emos
- Smart hjem Gardena
- Smart hjem TFA
- Smart hjem D-Link
- Smart hjem Asus
- Smart hjem Livoo
- Smart hjem Klarstein
- Smart hjem ABB
- Smart hjem Lenovo
- Smart hjem Nedis
- Smart hjem Abus
- Smart hjem Hama
- Smart hjem Edimax
- Smart hjem Theben
- Smart hjem Burg Wächter
- Smart hjem Strong
- Smart hjem Smartwares
- Smart hjem Trevi
- Smart hjem Trust
- Smart hjem Busch-Jaeger
- Smart hjem Blaupunkt
- Smart hjem Honeywell
- Smart hjem Cisco
- Smart hjem EZVIZ
- Smart hjem Huawei
- Smart hjem TechniSat
- Smart hjem FireAngel
- Smart hjem Redmond
- Smart hjem Elro
- Smart hjem Osram
- Smart hjem Ranex
- Smart hjem REV
- Smart hjem Sanus
- Smart hjem Bose
- Smart hjem Vivax
- Smart hjem Netgear
- Smart hjem RADEMACHER
- Smart hjem KKT Kolbe
- Smart hjem Danfoss
- Smart hjem Totolink
- Smart hjem Salus
- Smart hjem Alecto
- Smart hjem Xiaomi
- Smart hjem Niceboy
- Smart hjem Krüger&Matz
- Smart hjem EnerGenie
- Smart hjem NGS
- Smart hjem Tesla
- Smart hjem Imou
- Smart hjem Lorex
- Smart hjem Rain Bird
- Smart hjem Velleman
- Smart hjem LevelOne
- Smart hjem Perel
- Smart hjem Swann
- Smart hjem JUNG
- Smart hjem Byron
- Smart hjem Netatmo
- Smart hjem Tenda
- Smart hjem Blumfeldt
- Smart hjem Eufy
- Smart hjem Ring
- Smart hjem Overmax
- Smart hjem Somfy
- Smart hjem EQ3
- Smart hjem Laica
- Smart hjem Veho
- Smart hjem Hikvision
- Smart hjem Brennenstuhl
- Smart hjem Aeon Labs
- Smart hjem Reolink
- Smart hjem Devolo
- Smart hjem Renkforce
- Smart hjem SPC
- Smart hjem Caliber
- Smart hjem Dormakaba
- Smart hjem Easy Home
- Smart hjem Nobo
- Smart hjem DoorBird
- Smart hjem Brilliant
- Smart hjem Hive
- Smart hjem Evolveo
- Smart hjem Fibaro
- Smart hjem Eltako
- Smart hjem X-Sense
- Smart hjem EQ-3
- Smart hjem Digi
- Smart hjem ATen
- Smart hjem Vimar
- Smart hjem Oregon Scientific
- Smart hjem Aluratek
- Smart hjem Chacon
- Smart hjem Nexa
- Smart hjem Crestron
- Smart hjem Kogan
- Smart hjem Sungrow
- Smart hjem Lutron
- Smart hjem Delta Dore
- Smart hjem DiO
- Smart hjem Homematic IP
- Smart hjem V-TAC
- Smart hjem August
- Smart hjem Manta
- Smart hjem Shelly
- Smart hjem Steren
- Smart hjem Silvergear
- Smart hjem Gossen Metrawatt
- Smart hjem Aqara
- Smart hjem KanexPro
- Smart hjem Ferguson
- Smart hjem Profile
- Smart hjem Ajax
- Smart hjem Airlive
- Smart hjem KlikaanKlikuit
- Smart hjem Inkbird
- Smart hjem Bticino
- Smart hjem Hombli
- Smart hjem Naxa
- Smart hjem Logicom
- Smart hjem Niko
- Smart hjem Gira
- Smart hjem Aiphone
- Smart hjem Satel
- Smart hjem Fanvil
- Smart hjem Home Easy
- Smart hjem Chuango
- Smart hjem ETiger
- Smart hjem Berker
- Smart hjem Swisstone
- Smart hjem Drayton
- Smart hjem WiZ
- Smart hjem LSC Smart Connect - Action
- Smart hjem Airthings
- Smart hjem MAC
- Smart hjem Winland
- Smart hjem Middle Atlantic
- Smart hjem Paulmann
- Smart hjem Intertechno
- Smart hjem EKO
- Smart hjem Schellenberg
- Smart hjem Nanoleaf
- Smart hjem Aeotec
- Smart hjem Metz Connect
- Smart hjem Adurosmart
- Smart hjem Nous
- Smart hjem Mach Power
- Smart hjem SEC24
- Smart hjem Athom
- Smart hjem Casambi
- Smart hjem Tellur
- Smart hjem TELE System
- Smart hjem Iungo
- Smart hjem Tjilla
- Smart hjem SwitchBot
- Smart hjem Sonoff
- Smart hjem Blebox
- Smart hjem Meross
- Smart hjem Origin Acoustics
Nyeste Smart hjem Manualer
23 Marts 2025
18 Marts 2025
18 Marts 2025
18 Marts 2025
15 Marts 2025
25 Februar 2025
20 Februar 2025
28 Januar 2025
27 Januar 2025

21 Januar 2025